United States String Map: Our First (Almost) Home
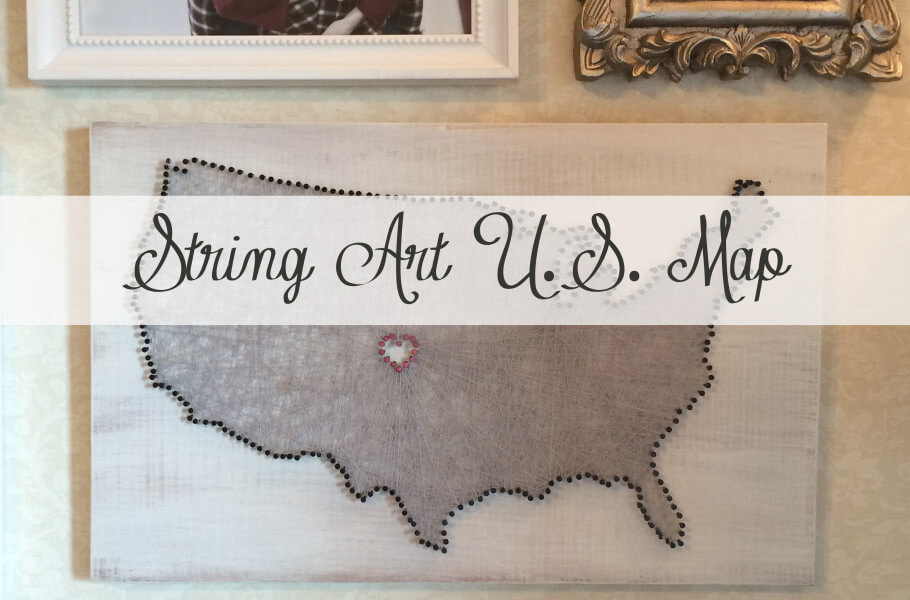
Since instagraming a picture of the United States String Map we have hanging on our living room wall, I’ve had several friends ask for directions to make their own. You will be happy to know that it is super easy if you have a printer and a drill. (Without a drill it’s still easy, just takes a little bit longer).
As per usual, I started strong, but then forgot to take pictures as the project went along, so I’ve done my best here to recreate it for you. I put the heart around Kansas because it was the first place we were both supposed to call home. Naturally life came along and changed our plans and Japan turned out to be our first home, but Kansas will always hold a special place in our hearts, and now… on our walls.
Step 1: Wood. Find a piece of wood you want to work with. I would recommend a soft wood like: pine or poplar, especially if you plan to paint it. I used a piece of birch, which is much harder, mostly because we had an extra 2×12 laying around and it was about the height I was looking for. I Cut off 18 inches, so the total size of our string art map is 18×12. If I’d used a softer wood I might not have needed the drill, but it made the project go by so quickly and made spacing a breeze, so I would recommend it no matter what kind of wood you are using.
Step 2: Paint/Stain/Polish or Sand. I found a pre-mixed paint in the mismatched 80% off bin at Home Depot a few years ago that is a light greyish white. I fell in love with the little brush mark of color on the can while I was in the store, and my love for it has deepened with every project I’ve used it on. Broke a little bit of my heart to leave it behind when we moved! Because I liked the look of the birch, I just dry brushed one coat over the wood, giving it the same barely-there look I sometimes use milk paint for.
Step 3: Print. Print the map or any other image you would like to use as the outline. DO NOT scale the image or “fit to page”. If your printer settings give you the option to “Tile” the image, this is the easiest way to do it. You can see below that I tiled my image on four pages and just taped the pages together to create the full size map. If you do not have an option to “Tile” the pages, you will want to “print selected area” and highlight the image by printable quadrants.
Step 4: Drill, baby, drill. Drill holes around the perimeter. I used some scrap wood to do some test holes to make sure that I wasn’t going so deep that the nails would sink in. The nails I used were size M, or 5d, which are 1 3/4 inches, so I just drilled about 3/4 of an inch in and then hammered the nail in the rest of the way.
Step 5: Sand. After all of the holes have been drilled, take a sanding block to smooth out the edges of your holes.

Step 6: Hammer time. With all of the holes predrilled, it’s easy now to just place the nails and hammer them in a couple of times until they stick. If you have accidentally drilled in too far, (which I did twice) fill in the hole with a little bit of wood putty and wait for it to dry before hammering in the nail.

Voila! Now just pick the spot(s) your heart belongs and you are ready for the fun part. 
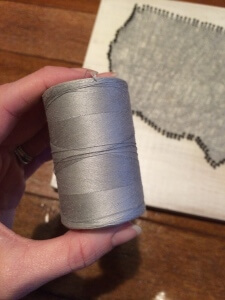
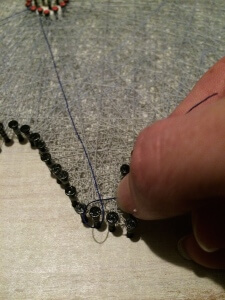
Here comes the string art part of our string art map. I used a silver grey sewing thread, but you can use whatever your little heart desires. Because I forgot to take pictures of this part, I am going to demonstrate with a navy blue thread so that hopefully you can see each step.
Step 7: Knot it. You only need to tie one knot to get started. I started around the tip of Texas. After your first not is tied, you just wrap each additional loop around the nails- keep it tight but don’t worry about tying it off until you need a break.
Step 8: Wrap it up. There are two ways to wrap it. One is in straight lines back and forth between the heart and the map:

 The other technique is systematically chaotic. Personally I prefer this way because it has a more opaque look when you get finished. Just start somewhere (I started in Texas) and connect nails to and from the heart as well as all over the country.
 I continued until the whole country was full of zig zagging lines with no real pattern, and then did it again, and again and again. Because I wanted the map densely filled, I continued running string about four layers deep.
After all was said and done, I felt like it needed just a tiny bit of color, so I used nail polish (acrylic paint flaked off) to paint the very tops of the all of the nails that made up our heart around Kansas.
Leave a Comment cancel
MOST RECENT IN "TRAVEL"
VIEW ALLMOST RECENT IN "PROJECTS"
VIEW ALLMeet Mindy
In 2013, I quit my job and bought a one-way ticket to Thailand. After four months of backpacking I returned to the States and fell in love with a guy whose job sent us straight back to Asia. Nothing has gone according to plan... and it's been absolutely magical.
Read more
Search WTW
Archives
Copyright © Walking Through Wonderland 2012 - 2025. All rights reserved.









MAN, I love this too!