Quick and Easy DIY Christmas Canvas
My holiday decorating style has always supported the idea that glitter makes all things merrier and and oh-so-much brighter. The last couple of years I have spent Christmas in flux, so I haven’t decorated nearly as much as I have in years past, but tonight I’ve got a little time on my hands so I decided to harness my festivity with this quick and easy DIY Christmas canvas.
It’s finally starting to feel a little more Christmasy in Okinawa. Mostly because the temperatures have been hovering in the 60’s for a few days and people are finally trading in their tank tops for scarves. In addition to the cold front, it’s been dreary and rainy, which has meant a lot of candles, cozy clothes and crafts in this house.
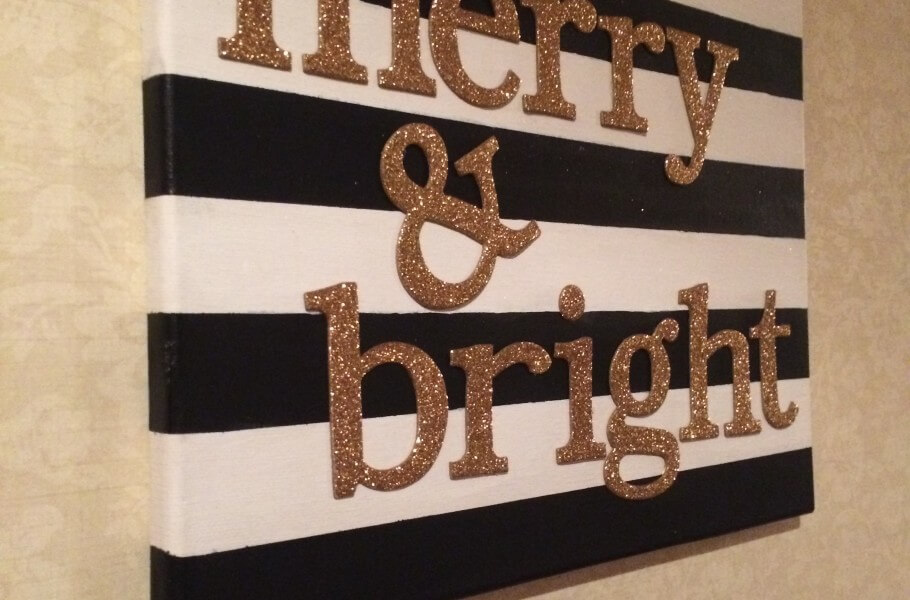
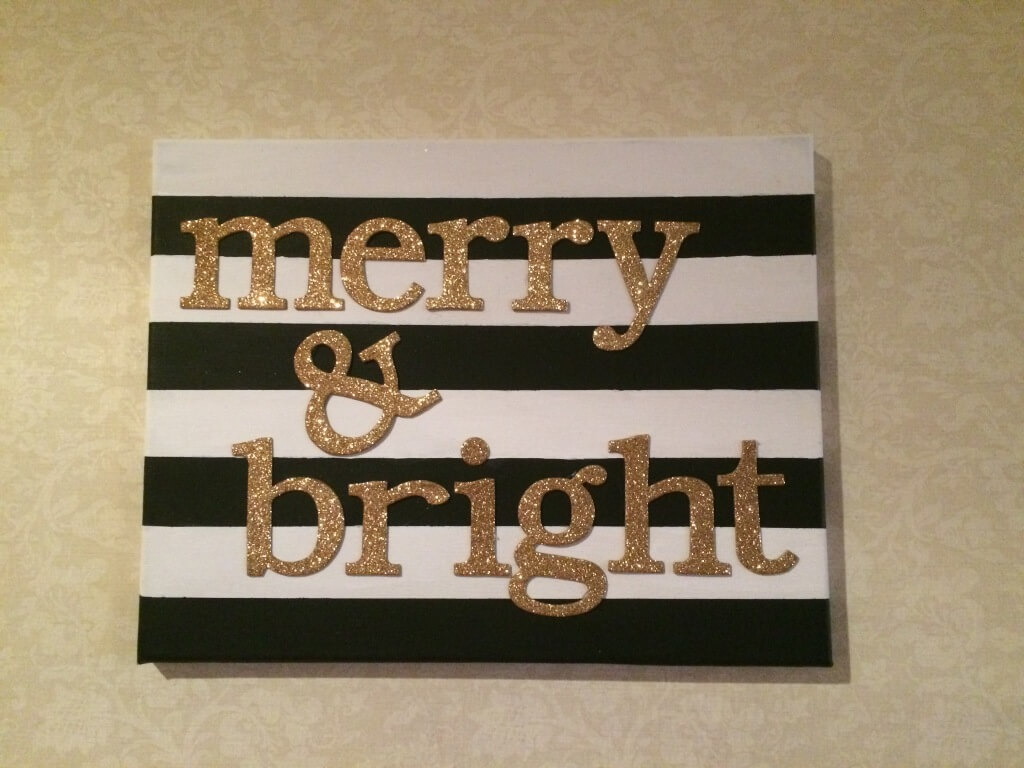
One of my goals this weekend was to organize the “craft closet” which is laughably full of painting, sewing, crocheting, scrapbooking, woodworking, calligraphy, and you-name-it art supplies. In the process I discovered some things that I had completely forgotten about… including these gold glittered letters. I remember buying them two years ago, with the intention of making a “Merry & Bright” sign, but I never got around to it. But, tonight, (after the closet was finally boxed and labeled to my satisfaction) I decided it was time to give these little letters a life.
I love a quick and easy DIY canvas project and this is one of the quickest and easiest I’ve ever done! You just need a blank canvas (or you can re-purpose an old one for something like this), painters tape, spray paint and some fabulously glittery letters.

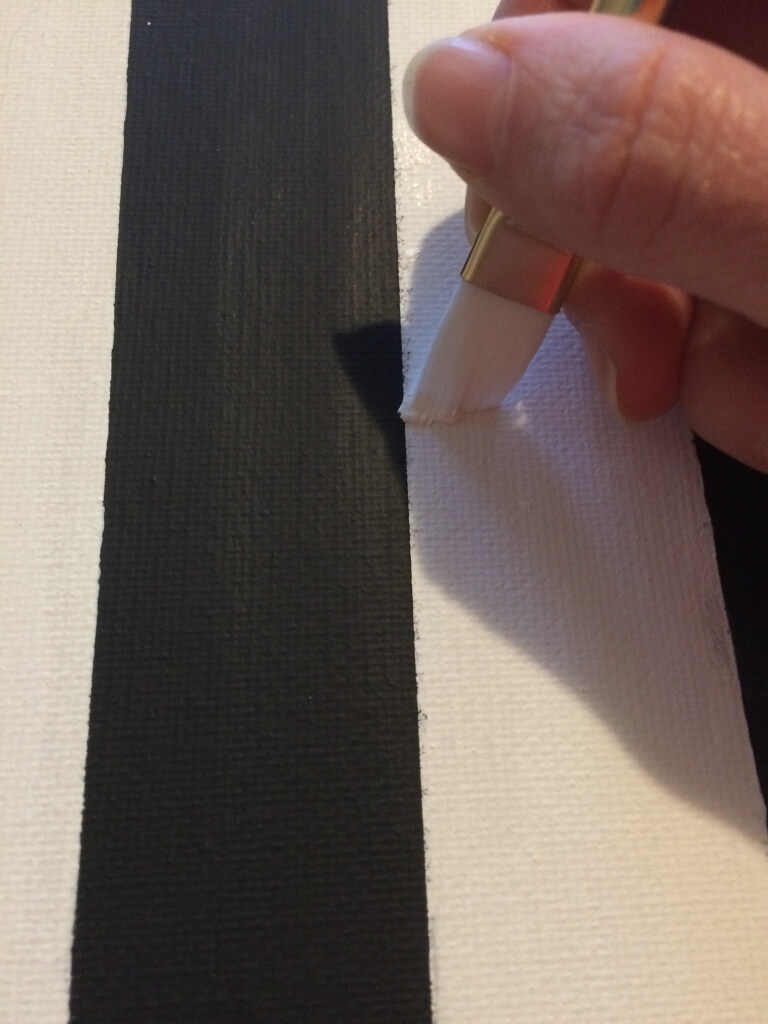
Because my chevron painted carpet used up the last of my painter’s tape I just used masking tape. And because it wasn’t exactly the width I wanted, I trimmed it and layered it so the trimmed edges faced one another and smooth sides formed the line I’d be painting along. (If I wasn’t so lazy I would have just gone out and bought the right width. That would be my advice.)

I’ve been on a black and white kick lately so I went with those colors. Both are also a good background for gold, so I knew simple stripes would work. I used spray paint to save time both in the painting and the drying process, but if you are using a more customized color than you can find in a can, I’ve done a very similar project with a brush as well.
The perfectionist in me ALWAYS has to go back and fix any little imperfection with something like this. I like using an acrylic primer for touch ups because I find that it covers up better than plain white acrylic.
Although the letters are self-adhesive, painted canvas isn’t my favorite surface for bonding so I used hot glue to reinforce them.

From start to finish the whole thing took less than an hour. (Gotta love quick dry paint!) And now, we finally have something festive on our walls!
I know you are likely sitting back focused on how jealous you are of our Japanese wall paper, but try to tear your eyes away to look at our cute little sign! Wouldn’t you agree? Glitter really does make all things merrier!
Leave a Comment cancel
MOST RECENT IN "TRAVEL"
VIEW ALLMOST RECENT IN "PROJECTS"
VIEW ALLMeet Mindy
In 2013, I quit my job and bought a one-way ticket to Thailand. After four months of backpacking I returned to the States and fell in love with a guy whose job sent us straight back to Asia. Nothing has gone according to plan... and it's been absolutely magical.
Read more
Search WTW
Archives
Copyright © Walking Through Wonderland 2012 - 2026. All rights reserved.

